Homemade Gluten-Free English Muffins
The Warm, Toasty Aroma of Freshly Made Muffins
Have you ever bitten into a warm English muffin that’s perfectly toasted and topped with creamy butter and jam? It’s pure bliss! Imagine making that dreamy breakfast right in your kitchen, without the gluten. These Homemade Gluten-Free English Muffins are not only delicious but also easy to whip up! A friendly breakfast that caters to everyone’s dietary needs? Yes, please!
Why Make This Recipe
You’re going to love these muffins for so many reasons!
- Easy Peasy: No need to master sourdough or any fancy baking techniques here. Just mix, scoop, and cook!
- Quick Clean-Up: Forget about endless dishes—this recipe is a one-bowl wonder, making the clean-up a breeze.
- Family Friendly: Even the pickiest eaters will dive into these muffins, making breakfast time a loved family ritual.
Let’s be honest—who doesn’t want breakfast without the drama?
Ingredients:
You don’t need fancy stuff — just these basics!
- 2 cups gluten-free all-purpose flour
- 1 tablespoon sugar
- 1 teaspoon salt
- 1 tablespoon baking powder
- 1 cup milk (or a dairy-free alternative)
- 1 large egg
- 2 tablespoons melted butter (or dairy-free alternative)
- Cornmeal (for dusting)
Directions:
Follow these steps to muffin perfection!
- In a large bowl, mix the gluten-free flour, sugar, salt, and baking powder.
- In a separate bowl, whisk together the milk, egg, and melted butter.
- Combine the wet ingredients with the dry ingredients, mixing until just combined.
- Let the dough sit for about 10 minutes to thicken.
- Preheat a skillet over medium heat and sprinkle with cornmeal.
- Scoop the muffin batter onto the skillet, forming rounds.
- Cook for about 4-5 minutes on each side, until golden brown.
- Serve toasted with your favorite toppings.

How to Make Homemade Gluten-Free English Muffins (Overview)
Making these English muffins is as easy as one-two-three!
- Start by mixing your dry ingredients in one bowl while whisking your wet stuff in another. Just think of it as making a cake without all the complexity.
- Let the batter chill out for a bit so it can thicken. This is where the magic begins!
- Once the skillet is heated and dusted with cornmeal, it’s time to scoop and cook. And trust me, the smell will make you want to jump into the pan yourself!
Pro Tip: Don’t skip that ten-minute wait! Letting the dough rest makes a lovely texture.
How to Serve Homemade Gluten-Free English Muffins
Now that you’ve made these heavenly muffins, how do you serve them?
- Slather on some creamy butter and a generous layer of your favorite jam for a classic delight.
- Top them with avocado and a sprinkle of salt for a trendy brunch treat.
- Fill them with scrambled eggs and cheese for a filling breakfast sandwich—hello, brunch goals!
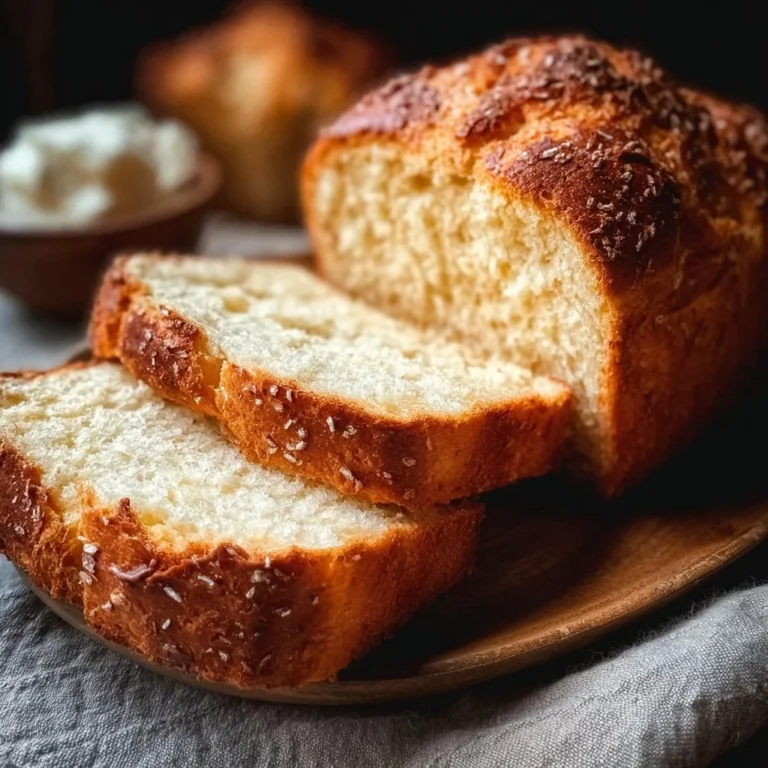
The golden color, crispy outside, and warm, fluffy inside will be too tempting not to enjoy!
How to Store Homemade Gluten-Free English Muffins
These muffins are best enjoyed fresh, but you can save some for later!
- Fridge: They can last for up to 5 days in an airtight container.
- Freezer: Freeze them for up to 3 months and reheat them right in the toaster.
Reheating Tip: For an amazing texture, toast them! You’ll thank me later.
Tips to Make Homemade Gluten-Free English Muffins
Want to make these muffins even better? Here are some insider tricks!
- Flour Swap: Experiment with different gluten-free flour mixes to find your perfect blend.
- Add-Ins: Toss in some dried fruit, herbs, or even cheese for a flavor twist.
- Don’t Overmix: Just mix until combined. Overmixing can lead to dense muffins, and nobody wants that!
Variation
Want to mix things up?
- Vegan Twist: Substitute the egg with flaxseed meal mixed with water and use a dairy-free milk alternative.
- Savory Muffins: Add spices or cheese, or even jalapeños for a spicy kick—yum!
FAQs
Can I freeze these muffins?
Absolutely! They freeze well for up to 3 months, just toast before enjoying.
What can I use instead of milk?
Any dairy-free alternative works great—almond milk, oat milk, or whatever you have on hand.
How do I know when they’re cooked?
Look for that golden-brown color and be sure they’re no longer soft in the middle.
Your breakfast game is about to be elevated, my friend! Just grab these ingredients, follow the steps, and soon you’ll be enjoying homemade gluten-free muffins that will have you feeling all warm and fuzzy inside.
📌 Pin this recipe for your next cozy dinner night!

Gluten-Free English Muffins
Ingredients
Method
- In a large bowl, mix the gluten-free flour, sugar, salt, and baking powder.
- In a separate bowl, whisk together the milk, egg, and melted butter.
- Combine the wet ingredients with the dry ingredients, mixing until just combined.
- Let the dough sit for about 10 minutes to thicken.
- Preheat a skillet over medium heat and sprinkle with cornmeal.
- Scoop the muffin batter onto the skillet, forming rounds.
- Cook for about 4-5 minutes on each side, until golden brown.
- Serve toasted with your favorite toppings like butter and jam, or avocado.