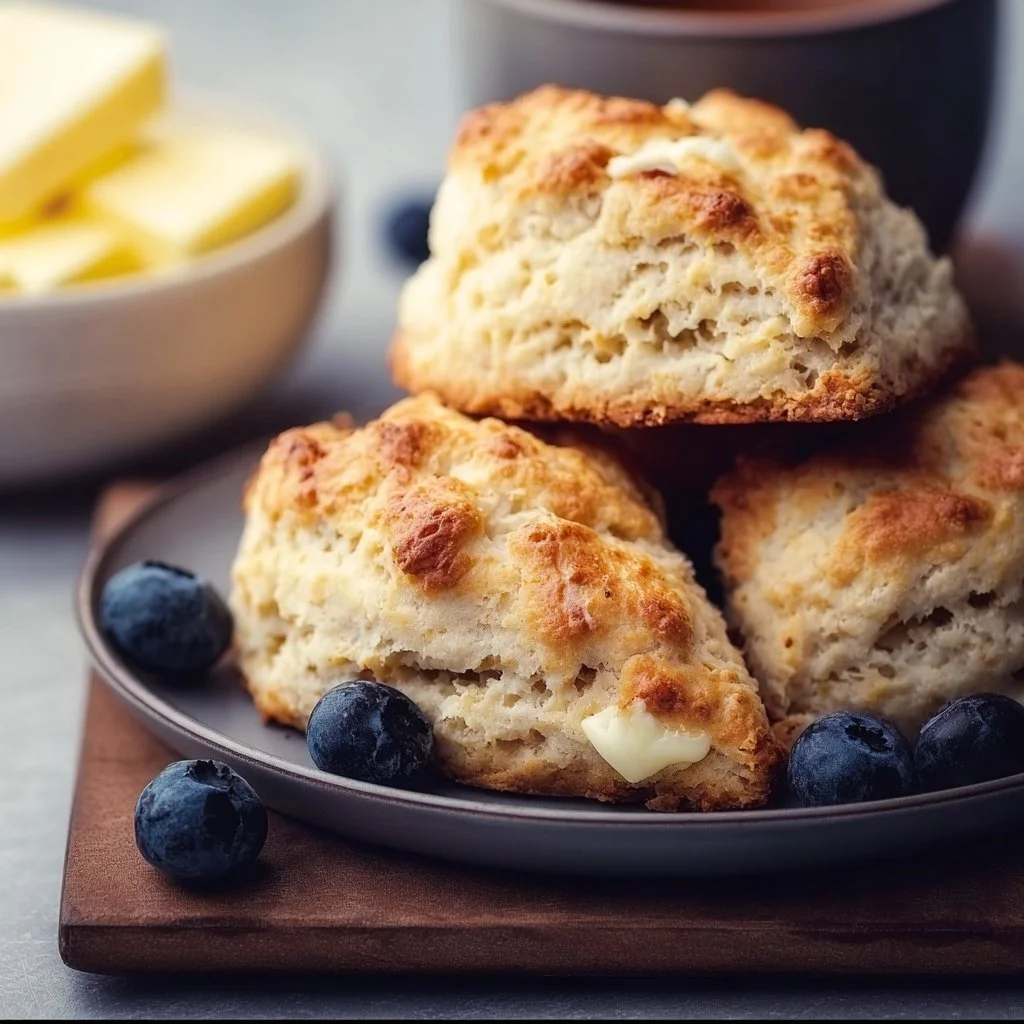
Gluten-Free Scones
Are you ready for scones that feel like a warm hug in a cozy café?
Imagine biting into a fluffy, golden scone with a hint of sweetness and the delightful chew of dried fruit. These Gluten-Free Scones are quick to whip up and perfect for breakfast, snacks, or tea time. Enjoying a homemade treat has never been easier or more enjoyable!
Why make this recipe
Making these gluten-free treats is almost a no-brainer. Why? For starters, they’re incredibly easy to make—no fancy techniques here! Plus, you’ll love the minimal cleanup; you only need one bowl and a baking sheet. And let’s be honest, who doesn’t want delicious scones made with love? 😍
Ingredients:
You don’t need fancy stuff — just these basics!
- 2 cups gluten-free flour blend
- 1/2 cup sugar
- 1 tablespoon baking powder
- 1/4 teaspoon salt
- 1/2 cup cold butter, cubed
- 1/2 cup milk (or dairy-free alternative)
- 1 teaspoon vanilla extract
- 1/2 cup dried fruit (e.g., cranberries or blueberries – optional)
Directions:
Get ready to bake some magic with these simple steps!
- Preheat your oven to 375°F (190°C).
- In a large bowl, mix together gluten-free flour, sugar, baking powder, and salt.
- Cut in the cold butter until the mixture resembles coarse crumbs.
- Stir in the milk and vanilla extract until just combined.
- If using, fold in the dried fruit.
- Turn the dough out onto a floured surface and gently knead a few times.
- Pat the dough into a 1-inch thick circle and cut into wedges.
- Place scones on a baking sheet lined with parchment paper.
- Bake for 15-20 minutes or until golden brown.
- Allow to cool slightly before serving.
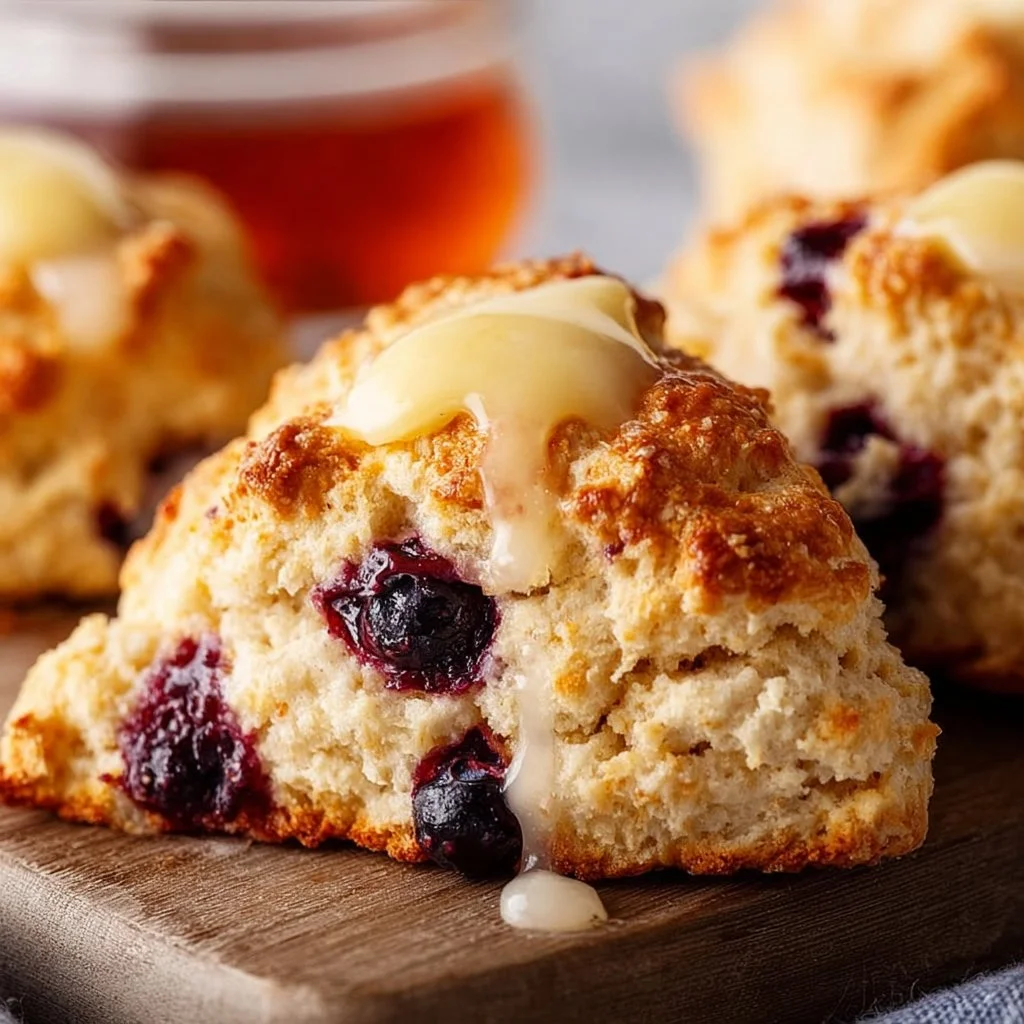
How to make Gluten-Free Scones (Overview)
Making gluten-free scones might sound tricky, but trust me, it’s super straightforward. Start by mixing your dry ingredients, then work in that cold butter until it gets crumbly. Next, splash in some milk and vanilla, and if you’re feeling fruity, fold in your favorites! Knead lightly, shape it, cut it, bake it, and voila—scones! Pro tip: Don’t skip the cooling step; it’s crucial for perfect texture! 😉
How to serve Gluten-Free Scones
Picture this: a plate piled high with golden, flaky scones topped with a dollop of fresh cream, a drizzle of honey, or a spread of jam. They look fabulous, smell heavenly, and taste divine. For an extra indulgent touch, pair them with your favorite tea or coffee. The aroma will fill the room, making it feel like a special occasion—every day!
How to store Gluten-Free Scones
These scones are best enjoyed fresh, but they can last up to 3 days in an airtight container in the fridge. For longer storage, freeze them for up to 3 months. Just pop them in the oven for a few minutes to warm up, and they’ll taste like they just came out of the oven. Quick and easy! 🥳
Tips to make Gluten-Free Scones
- Use cold ingredients: Cold butter and milk help create the perfect texture. Think of it as a spa day for your scones!
- Don’t overmix: Just stir until ingredients are combined. Too much handling makes for tough scones—no one wants that!
- Experiment with flavors: Add a splash of almond extract for a unique twist, or mix in lemon zest for a fresh zing.
- Use a quality flour blend: Not all gluten-free flours are created equal. Look for one with a good blend of starches.
- Try different add-ins: From chocolate chips to nuts, don’t hesitate to explore flavors that tickle your taste buds!
Variation
Want to switch things up? You can easily transform these scones into vegan scones by swapping the butter for a dairy-free alternative and using plant-based milk. Want to get adventurous? Add a dash of spices like cinnamon or nutmeg for a cozy, seasonal flair.
FAQs
1. Can I use a different type of flour?
Definitely! Just ensure it’s a gluten-free blend specifically made for baking.
2. How do I make these ahead of time?
You can prepare the dough and shape the scones, then freeze them. Bake straight from the freezer when you’re ready to treat yourself!
3. Can I replace the sugar?
You can use honey or maple syrup, but keep in mind it might change the texture a bit. Just adjust the liquid accordingly.
📌 Pin this recipe for your next cozy dinner night!
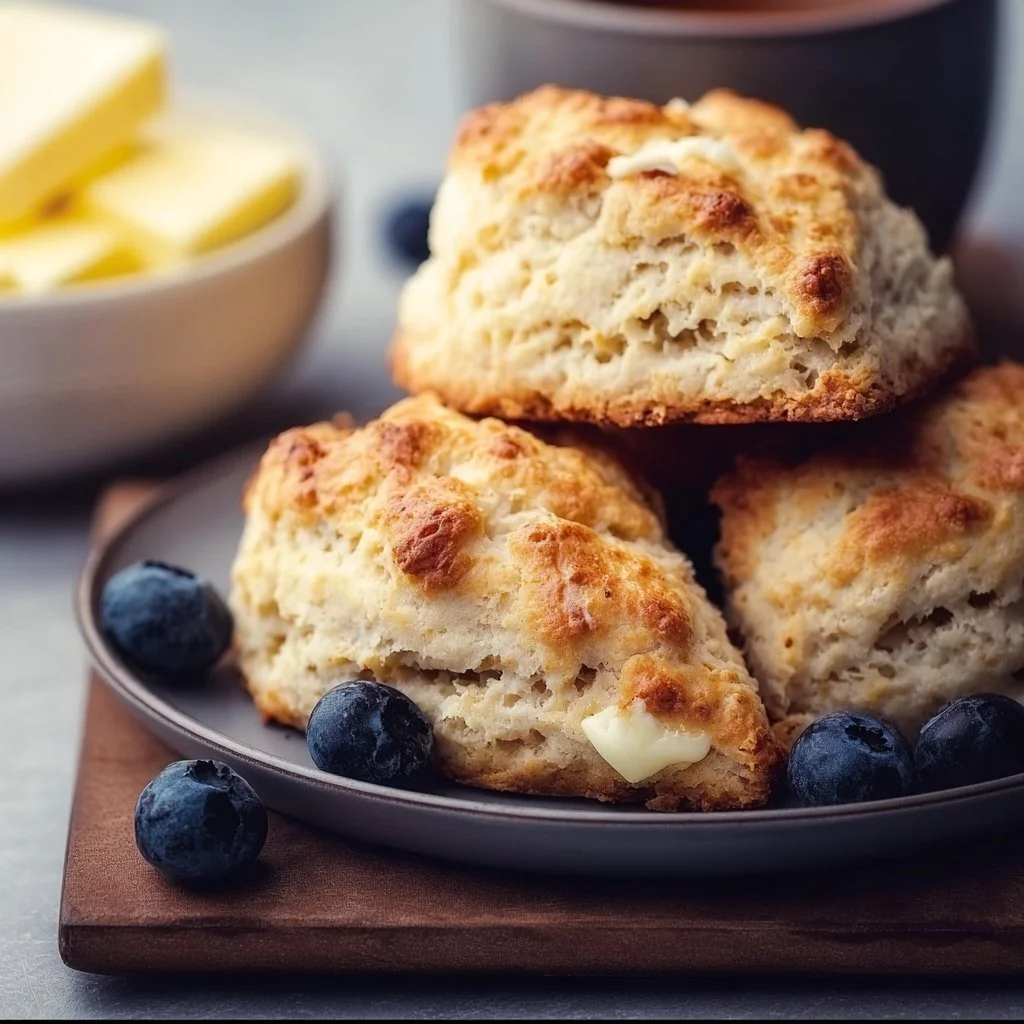
Gluten-Free Scones
Ingredients
Method
- Preheat your oven to 375°F (190°C).
- In a large bowl, mix together gluten-free flour, sugar, baking powder, and salt.
- Cut in the cold butter until the mixture resembles coarse crumbs.
- Stir in the milk and vanilla extract until just combined.
- If using, fold in the dried fruit.
- Turn the dough out onto a floured surface and gently knead a few times.
- Pat the dough into a 1-inch thick circle and cut into wedges.
- Place scones on a baking sheet lined with parchment paper.
- Bake for 15-20 minutes or until golden brown.
- Allow to cool slightly before serving.