Gluten-Free Crumpets
The Perfect Morning Craving: Gluten-Free Crumpets
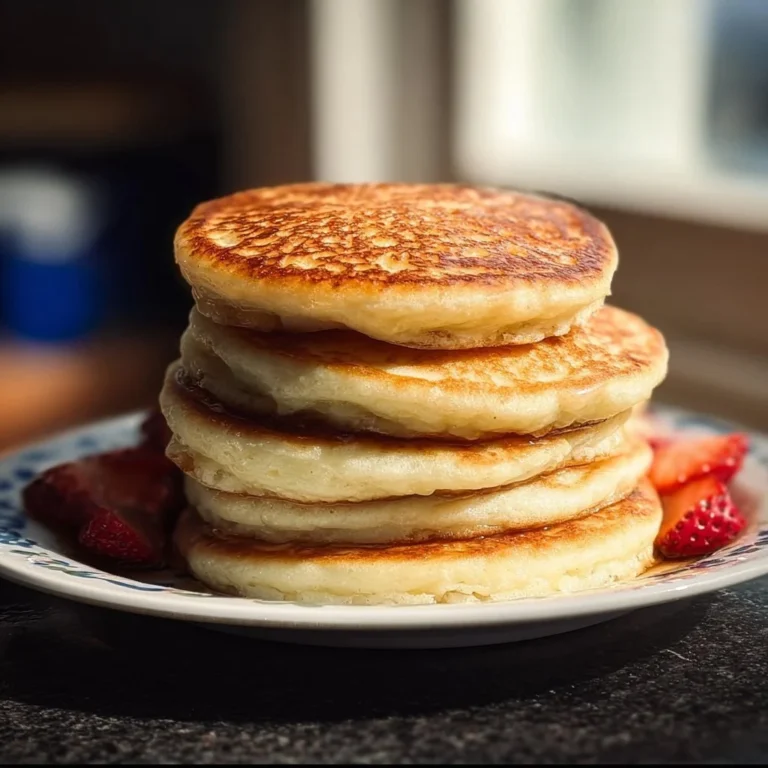
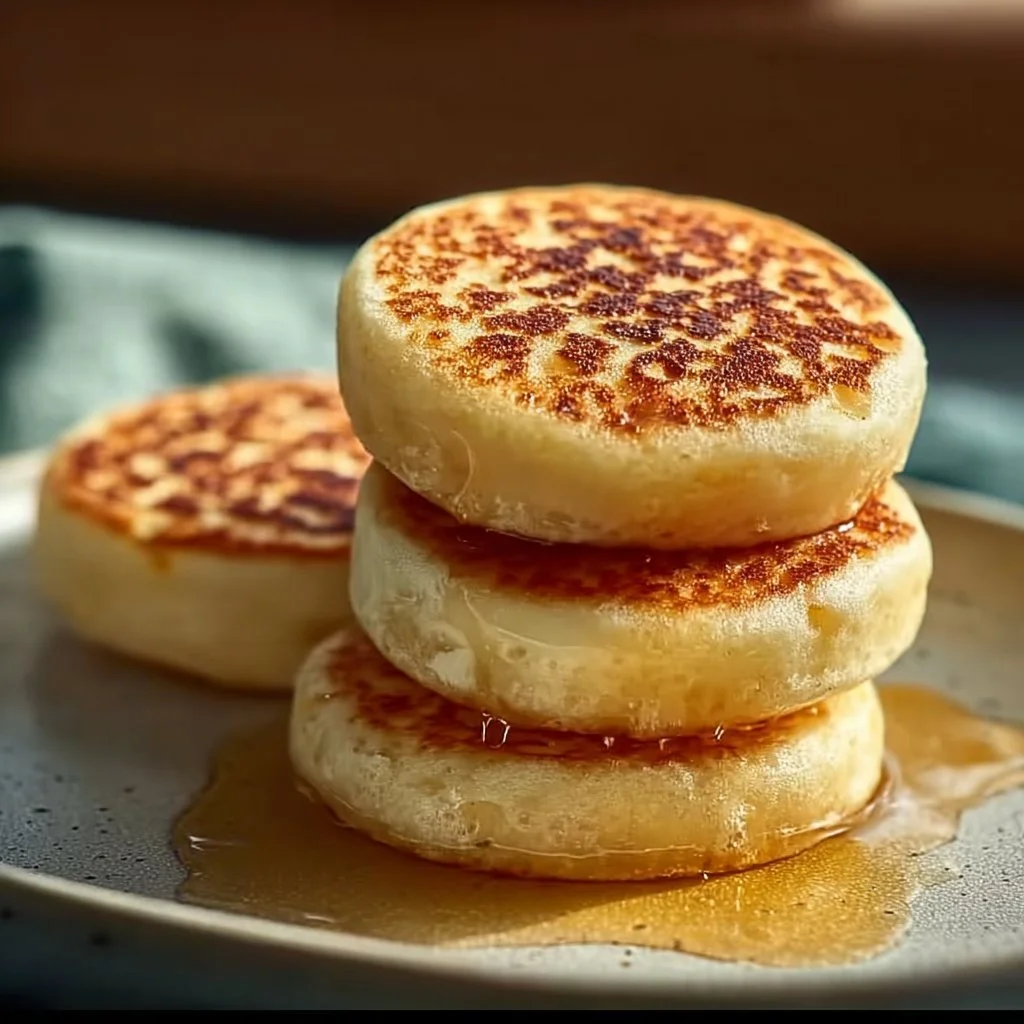
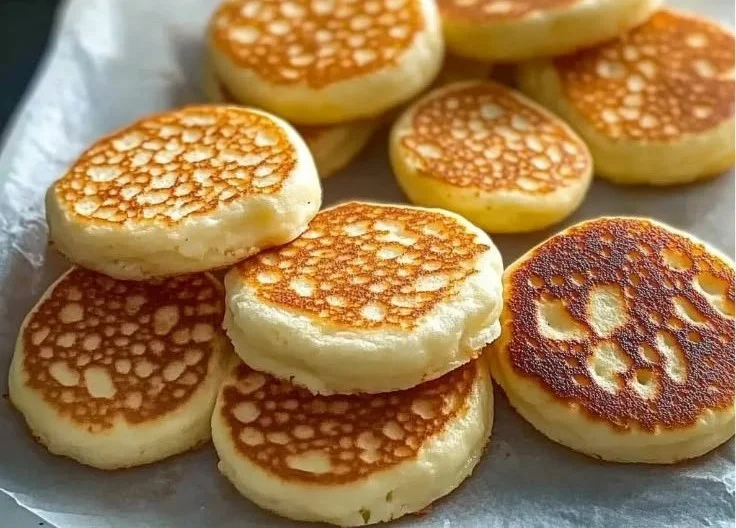
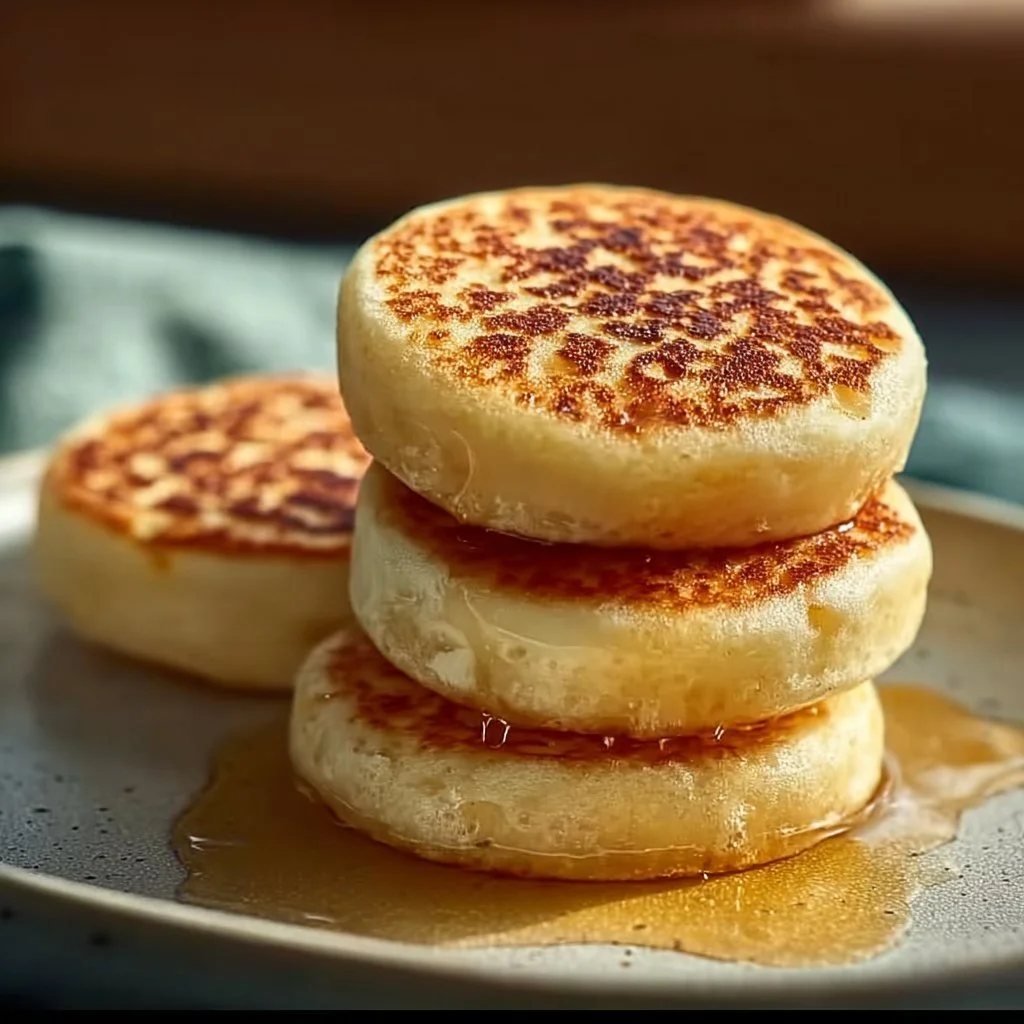
Imagine waking up to the heavenly smell of warm, toasty crumpets wafting through your kitchen. The golden-brown tops, the soft, spongy texture, and those delightful little holes that catch all the butter and jam—are you drooling yet? These Gluten-Free Crumpets are not just for those avoiding gluten; they’re for anyone who loves a warm, fluffy breakfast treat. Plus, they’re surprisingly simple and quick to whip up, making them a perfect addition to your morning routine!
Why Make This Recipe
Who doesn’t love a breakfast that’s not only delicious but also easy to clean up? These crumpets are:
- Quick to prepare: With just a bit of waiting time for the batter to rise, your morning will still be breezy!
- Customizable: You can slather them with whatever you desire—think honey, clotted cream, or even avocado!
- Fun for the family: Get the kids involved in the cooking fun. They’ll love watching the bubbles form as they cook!
Seriously, what’s not to love?
Ingredients
You don’t need fancy stuff — just these basics!
- 2 cups gluten-free all-purpose flour blend
- 2 teaspoons instant yeast
- 1 teaspoon granulated sugar
- 1 teaspoon salt
- 1 1/2 cups warm water
- 1/2 teaspoon baking soda
- 1/4 cup warm milk
- Butter or oil, for greasing
Directions
- In a bowl, whisk together the warm water, sugar, and instant yeast. Let it sit for 5-10 minutes until it’s frothy and bubbly.
- Add the gluten-free flour and salt into the yeast mixture, whisking until smooth. Cover it and let it rest in a warm place for 45 minutes to 1 hour.
- Generously grease your crumpet rings and non-stick skillet with butter or oil. Place the greased rings onto the cold skillet.
- Stir the baking soda into the warm milk until dissolved. Gently whisk this mixture into your rested batter.
- Heat your skillet over low-medium heat. Spoon the batter into each ring, filling them about 2/3 full. Cook for about 8-10 minutes until the tops are set and bubbly with golden brown bottoms.
- Carefully remove the rings, flip the crumpets, and cook for another 2-3 minutes to brown the tops.
{image_2}
How to Make Gluten-Free Crumpets (Overview)
Making these crumpets is like a delightful dance in the kitchen! You start by activating the yeast, which transforms into a frothy pot of magic. Then, mix in the flour and voila — let it rise!
- Once your batter is ready, fire up that skillet and grease those rings.
- Pour in the batter, and let it bubble away. When it’s all puffy and golden, it’s time to flip!
Pro tip: Don’t rush the resting time! It’s essential for that perfect spongy texture. You want those airy pockets, right?
How to Serve Gluten-Free Crumpets
Now for the fun part—serving!
- Drizzle some honey or maple syrup for a sweet touch.
- Top with fresh berries and a dollop of yogurt for a refreshing snack.
- Slather on butter or jam and enjoy that melty goodness.
The warm, buttery aroma will fill your space, making it impossible to resist another bite. 😍
How to Store Gluten-Free Crumpets
These crumpets keep pretty well!
- Refrigerate them in an airtight container for up to 3 days.
- Freeze them for up to a month. Just pop them in a toaster for a quick reheat.
Make-ahead breakfasts? Yes, please!
Tips to Make Gluten-Free Crumpets
- Use a high-quality gluten-free flour blend for the best texture. This makes a huge difference!
- For extra fluffiness, ensure your warm water isn’t too hot—about 110°F is perfect!
- Experiment with different fillings! Think herbs or spices for a savory twist.
Trust me, your taste buds will thank you!
Variation
Want to jazz things up?
- Add in herbs like chives for a savory version.
- For a sweet twist, toss in chocolate chips or fruit bits!
- Craving a vegan option? Swap out the milk for a plant-based milk and use a dairy-free butter alternative.
FAQs
Can I use regular flour instead of gluten-free?
Of course! Just swap it out, and you’ll lose your gluten-free status (but gain a different texture).
How do I make these crumpets without crumpet rings?
No rings? No problem! Just spoon the batter directly onto the skillet and manage the round shape yourself.
Can I freeze these crumpets?
Absolutely! Freeze individually wrapped and toast them right from the freezer for a quick breakfast.
📌 Pin this recipe for your next cozy dinner night!
Gluten-Free Crumpets
Ingredients
Method
- In a bowl, whisk together the warm water, sugar, and instant yeast. Let it sit for 5-10 minutes until it’s frothy and bubbly.
- Add the gluten-free flour and salt into the yeast mixture, whisking until smooth. Cover it and let it rest in a warm place for 45 minutes to 1 hour.
- Generously grease your crumpet rings and non-stick skillet with butter or oil. Place the greased rings onto the cold skillet.
- Stir the baking soda into the warm milk until dissolved. Gently whisk this mixture into your rested batter.
- Heat your skillet over low-medium heat. Spoon the batter into each ring, filling them about 2/3 full.
- Cook for about 8-10 minutes until the tops are set and bubbly with golden brown bottoms.
- Carefully remove the rings, flip the crumpets, and cook for another 2-3 minutes to brown the tops.