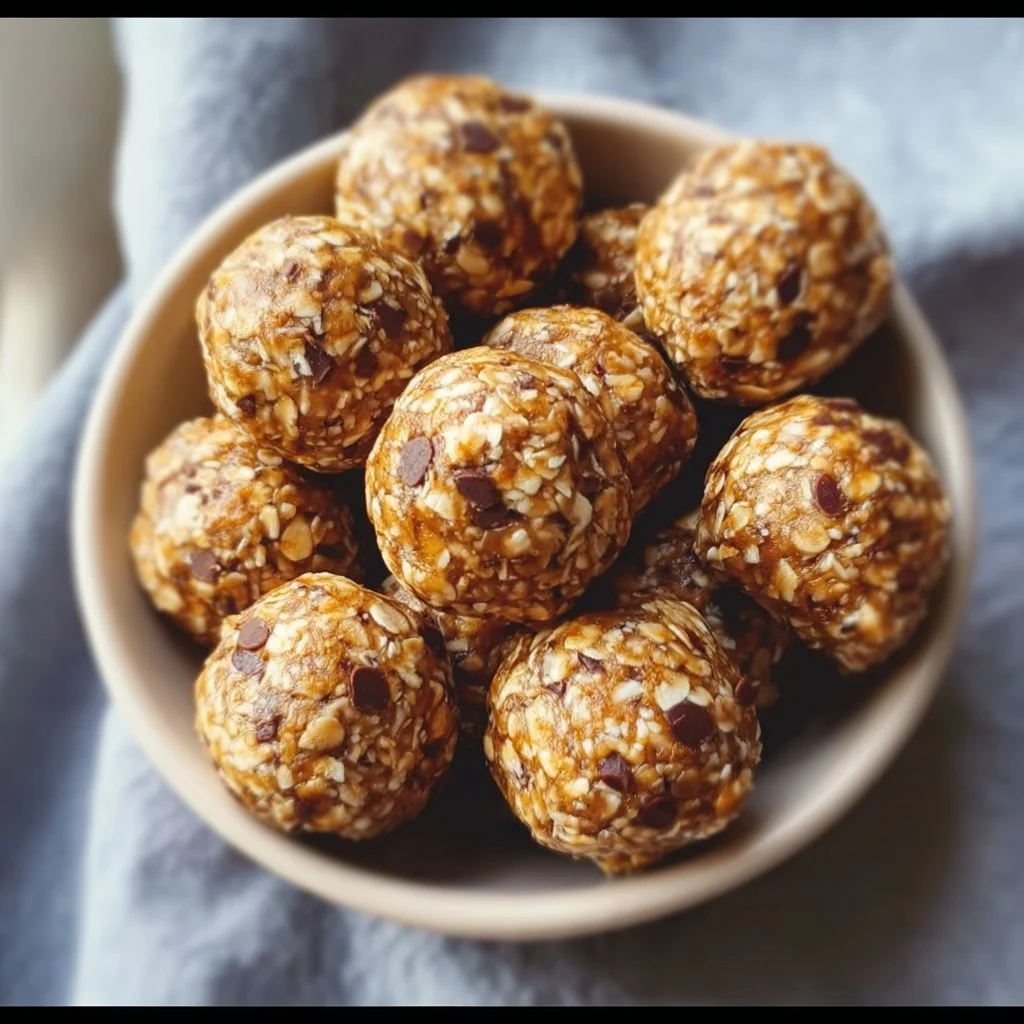
No-Bake Peanut Butter Energy Bites
why make this recipe
No-Bake Peanut Butter Energy Bites are a quick and easy snack that packs a nutritional punch. They are perfect for busy days when you need a boost of energy without the hassle of cooking. These bites are not only delicious but also offer a great mix of protein, healthy fats, and fiber. Whether you need a quick breakfast on the go, a post-workout snack, or just something to satisfy your sweet tooth, these energy bites are a fantastic choice.
how to make No-Bake Peanut Butter Energy Bites
Ingredients :
- 1 cup peanut butter
- 1/4 cup honey or maple syrup
- 1 cup oats
- 1/2 cup chocolate chips (optional)
- 1/4 cup ground flaxseed or chia seeds
- 1 teaspoon vanilla extract
Directions :
- In a large bowl, mix together peanut butter and honey until well combined.
- Stir in the oats, chocolate chips, flaxseed, and vanilla extract until fully incorporated.
- Use your hands to shape the mixture into small balls, about 1 inch in diameter.
- Place the energy bites on a baking sheet lined with parchment paper.
- Refrigerate for at least 30 minutes to set.
- Store in an airtight container in the refrigerator for up to one week.
how to serve No-Bake Peanut Butter Energy Bites
These energy bites are incredibly versatile. You can enjoy them any time of the day. Serve them as a quick breakfast, a snack during the day, or even a sweet treat after dinner. They pair well with a glass of milk or your favorite smoothie.
how to store No-Bake Peanut Butter Energy Bites
To keep your No-Bake Peanut Butter Energy Bites fresh, store them in an airtight container in the refrigerator. They will stay good for up to one week. You can also freeze them for longer storage. Just make sure to separate them with parchment paper to avoid sticking.
tips to make No-Bake Peanut Butter Energy Bites
- If you want a chewier texture, consider using old-fashioned oats instead of quick oats.
- For extra flavor, try mixing in a pinch of cinnamon or cocoa powder.
- If you’re looking to add some crunch, consider adding chopped nuts or seeds.
variation
You can customize these energy bites to suit your taste:
- Swap peanut butter for almond butter or sun butter for a different flavor.
- Add dried fruits like raisins, cranberries, or apricots for added sweetness.
- Use coconut flakes for a tropical twist.
FAQs
1. Can I make these energy bites vegan?
Yes! Use maple syrup instead of honey, and make sure your chocolate chips are dairy-free.
2. How many energy bites can I eat at once?
It’s best to enjoy them in moderation. 2-3 bites make a perfect snack!
3. Can I store these energy bites at room temperature?
It’s recommended to store them in the refrigerator to keep them fresh longer. However, they can be kept at room temperature for a short period, like during a picnic.
No-Bake Peanut Butter Energy Bites
Ingredients
Method
- In a large bowl, mix together peanut butter and honey until well combined.
- Stir in the oats, chocolate chips, flaxseed, and vanilla extract until fully incorporated.
- Use your hands to shape the mixture into small balls, about 1 inch in diameter.
- Place the energy bites on a baking sheet lined with parchment paper.
- Refrigerate for at least 30 minutes to set.