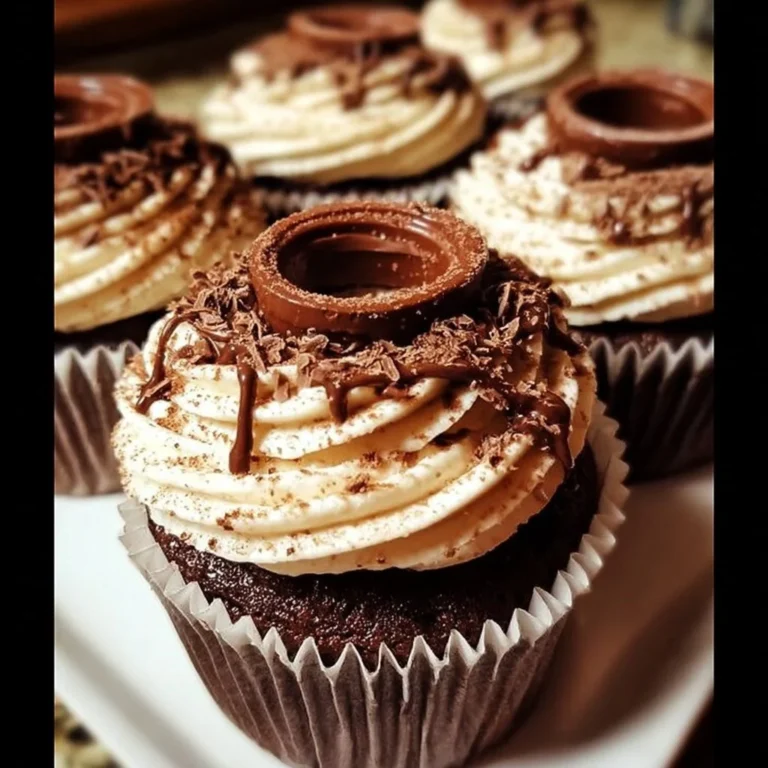
Decadent Cheesecake in a Mug
Craving something creamy and sweet that won’t dirty every dish in your kitchen?
Imagine diving into a Decadent Cheesecake in a Mug, silky smooth with a buttery crust and a hint of zest that tickles your taste buds. This little indulgence not only satisfies that sweet craving, but it’s also ready in a snap! Perfect for busy days, midnight snacks, or a cozy night in, this mug cake is a viral sensation that makes cheesecake accessible to everyone, even if you’re kitchen-challenged.
Why make this recipe
You know what’s better than traditional cheesecake? A fabulous cheesecake that’s quick and easy! Here’s why you’ll fall in love with this mug recipe:
- Minimal cleanup: Just one mug and a bowl means you can enjoy your treat without drowning in dirty dishes. 🙌
- Family-friendly: Catch the kids in the kitchen helping out! They’ll love making their own personal desserts.
- Satisfies cravings instantly: No waiting for an entire cheesecake to bake — just pop it in the microwave, and you’re good to go!
Ingredients
You don’t need fancy stuff — just these basics!
- 2 tbsp graham cracker crumbs
- 1 tsp melted butter
- 2 oz cream cheese, softened
- 2 tbsp granulated sugar
- 1/4 tsp vanilla extract
- 1 tbsp sour cream
- 1 egg yolk
- 1/2 tsp lemon juice
- Pinch of salt
Directions
Time to get your cheesecake on! Follow these easy steps:
- In a microwave-safe mug, combine graham cracker crumbs and melted butter. Press firmly to form a crust.
- In a small bowl, whisk together cream cheese, sugar, vanilla extract, sour cream, egg yolk, lemon juice, and a pinch of salt until smooth.
- Spoon the cheesecake filling over the prepared crust and smooth the top.
- Microwave on high power for 45 to 60 seconds until the edges are set but the center remains slightly jiggly.
- Let the mug cool at room temperature for 5 minutes to allow the cheesecake to settle.
- Chill in the refrigerator for at least 15 minutes to firm up the texture.
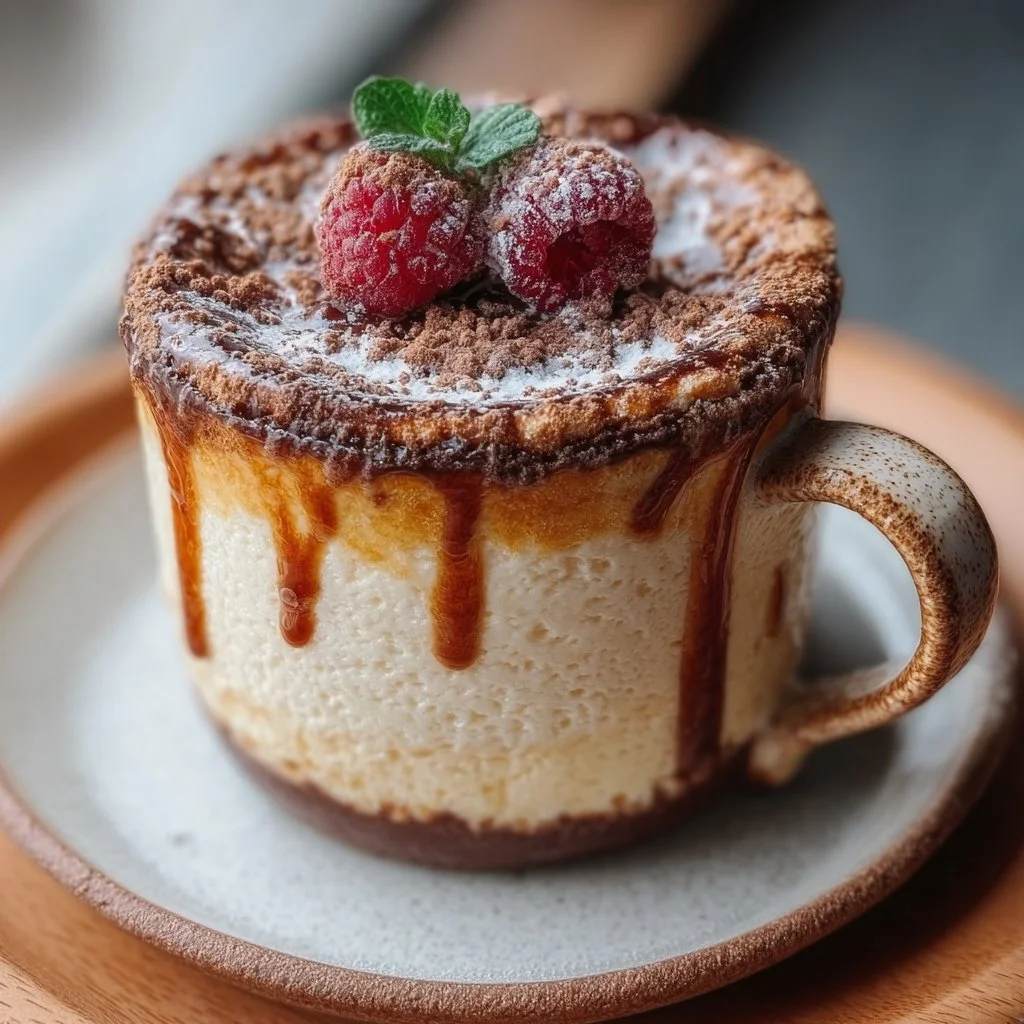
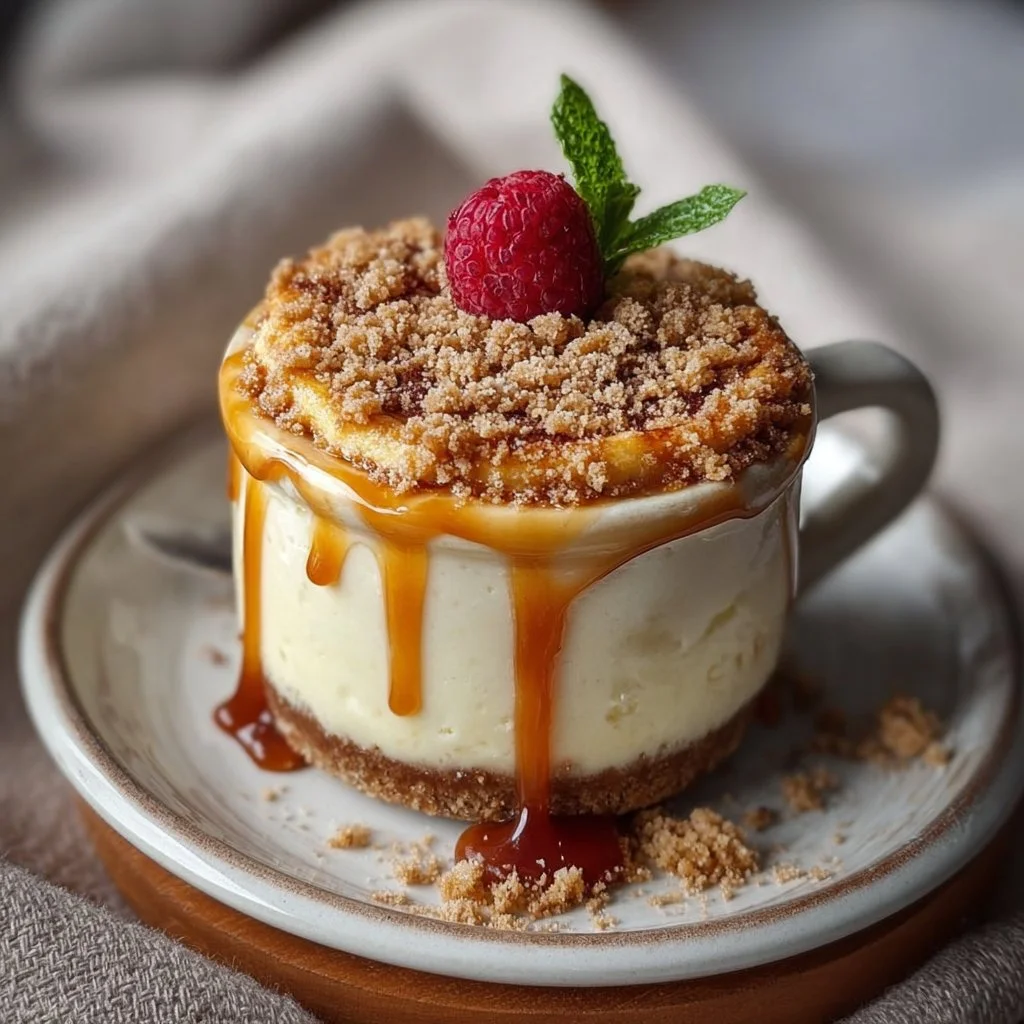
- Top with fresh berries, whipped cream, or chocolate sauce before serving!
How to make Decadent Cheesecake in a Mug (Overview)
Making this cheesecake in a mug is such a breeze, you’ll wonder why you waited! Start by crafting that crunchy crust with graham cracker crumbs and melted butter. While it sets, whip up a creamy filling with just a few ingredients—simple as that! A quick zap in the microwave, and you’ve got a dreamy dessert in mere minutes. Pro tip: Make sure to watch the timing so you don’t overcook it — you want that delicious jiggle!
How to serve Decadent Cheesecake in a Mug
Once your cheesecake is chilled and ready, the serving possibilities are endless!
- Top with a rainbow of berries — think strawberries, blueberries, or raspberries for a pop of color 🍓.
- Drizzle with warm chocolate sauce to elevate the sweetness.
- Add a dollop of whipped cream to create a cloud-like texture.
Every bite is a blissful balance of creamy cheesecake goodness and crunchy crust, perfect for those cozy evenings.
How to store Decadent Cheesecake in a Mug
Got leftovers? No problem! You can keep this cheesecake in an airtight container in the fridge for about 3 days. If you want to save it for later, it can be stored in the freezer for up to a month. Just remember to let it thaw in the fridge overnight before you indulge again!
Tips to make Decadent Cheesecake in a Mug
Want to nail this recipe? Here are some insider tips:
- Use room temperature cream cheese! It blends smoothly and doesn’t leave lumps.
- Experiment with flavors! Add a splash of almond extract or a sprinkle of cocoa powder for a twist.
- If you like it extra zesty, a bit more lemon juice can brighten the flavor.
Variation
Feeling adventurous?
- Try vegan cream cheese and flax egg for a plant-based version.
- Add in some mini chocolate chips or toffee bits for a sweet crunch.
- Or mix in some key lime juice instead of lemon for a tropical twist!
FAQs
Can I make this cheesecake ahead of time?
Absolutely! Make it in the morning, chill, and enjoy it later in the day.
What can I use instead of graham cracker crumbs?
You can use crushed cookies, like Oreos or digestive biscuits, for a different flavor profile.
Is this cheesecake gluten-free?
You can definitely make it gluten-free by using gluten-free graham crackers or cookie crumbs.
📌 Pin this recipe for your next cozy dinner night!

Decadent Cheesecake in a Mug
Ingredients
Method
- In a microwave-safe mug, combine graham cracker crumbs and melted butter. Press firmly to form a crust.
- In a small bowl, whisk together cream cheese, sugar, vanilla extract, sour cream, egg yolk, lemon juice, and a pinch of salt until smooth.
- Spoon the cheesecake filling over the prepared crust and smooth the top.
- Microwave on high power for 45 to 60 seconds until the edges are set but the center remains slightly jiggly.
- Let the mug cool at room temperature for 5 minutes to allow the cheesecake to settle.
- Chill in the refrigerator for at least 15 minutes to firm up the texture.
- Top with fresh berries, whipped cream, or chocolate sauce before serving.