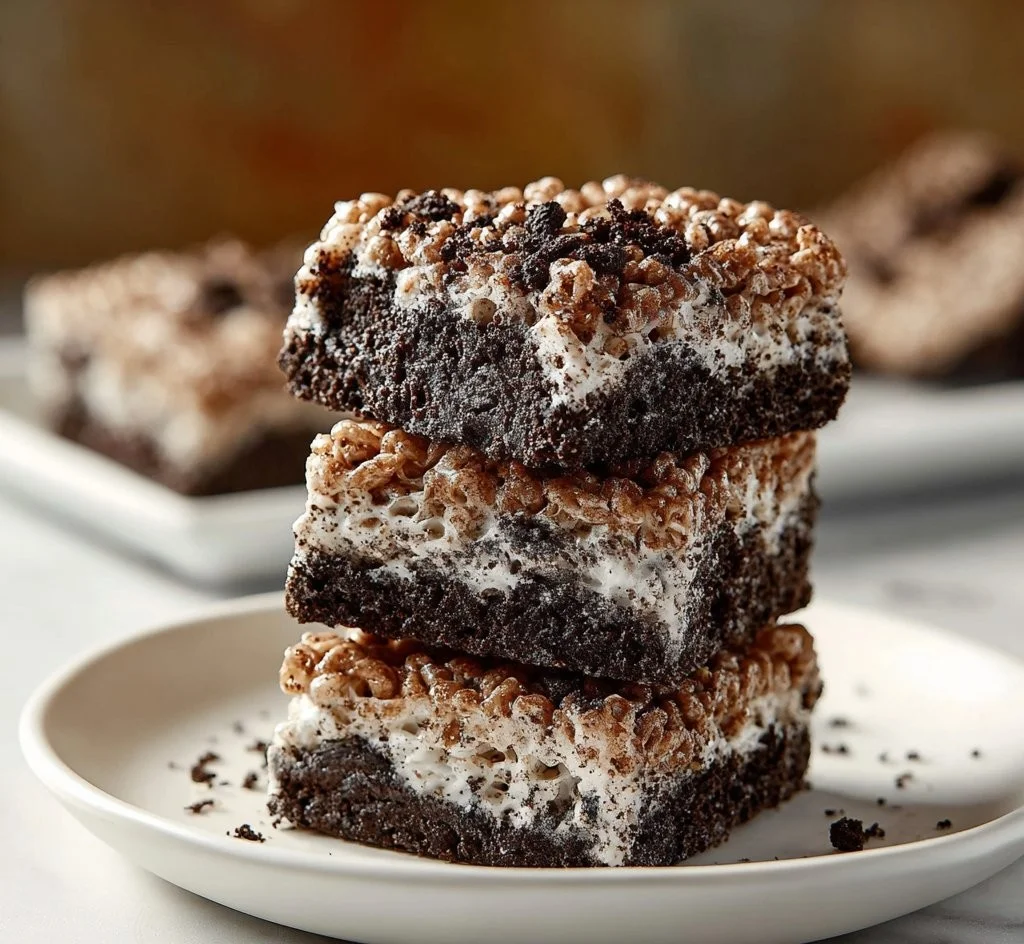
Best Oreo Krispies
Have you ever craved a treat that’s crunchy, sweet, and packed with cookies?
Sink your teeth into these Best Oreo Krispies! Trust me, this recipe is a game-changer. You whip it up in no time, and best of all—it’s a one-pan wonder that makes cleanup a breeze. It’s like your childhood dreams come true, all melted together in a delicious, gooey treat.
Why make this recipe
You’ll adore these Oreo Krispies for so many reasons! First off, they’re ridiculously easy to make. Honestly, if you can melt butter, you can handle this! Plus, it’s a family favorite—kids love it, and let’s be real, adults do too. Finally, how can you resist an inexpensive dessert that looks and tastes like it came from a gourmet bakery? You can even share (or not) 🍪😜!
Ingredients
You don’t need fancy stuff — just these basics!
- 6 cups Rice Krispies cereal
- 1 package (10.5 oz) mini marshmallows
- 3 tablespoons unsalted butter
- 1 package (15.35 oz) Oreo cookies, crushed
- 1 teaspoon vanilla extract
- 1 cup chocolate chips (optional)
Directions
- In a large pot, melt the butter over low heat.
- Add the mini marshmallows and stir until completely melted and smooth.
- Remove the pot from heat and stir in the vanilla extract.
- Gradually add the Rice Krispies cereal and crushed Oreo cookies, mixing until well coated.
- If using chocolate chips, stir them in at this point.
- Transfer the mixture to a greased 9×13 inch baking dish and press down evenly.
- Allow to cool completely before cutting into squares. Enjoy!
How to make Best Oreo Krispies (Overview)
Making these Krispies is a total breeze! Start by melting butter in a pot; then toss in some marshmallows—easy peasy! Once they’re ooey-gooey, mix in the Rice Krispies and crushed Oreos like a pro. Pro tip: Don’t skip allowing them to cool. If you cut them too early, you’ll have a sticky mess instead of perfect squares 🙈!
How to serve Best Oreo Krispies
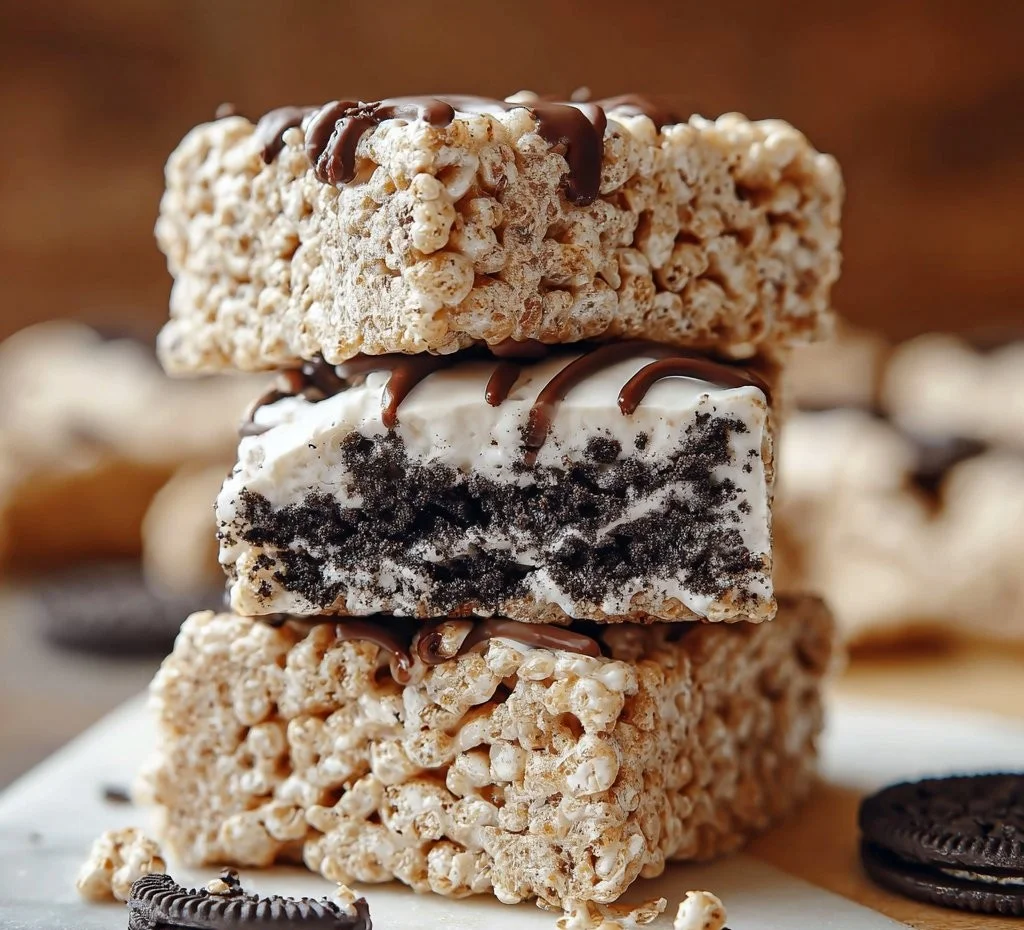
Presentation matters, right? Serve these Krispies in a bright dessert tray for a pop of color, or place them in cute paper cups for an instant upgrade. The chocolate drizzle on top? Chef’s kiss! Imagine the crunch, the soft marshmallow, and the rich flavor of Oreos all together in one delightful bite. Your taste buds will be doing a happy dance!
How to store Best Oreo Krispies
These treats will keep well for about 5-7 days at room temperature in an airtight container. Want to save them for later? You can pop them in the freezer for longer storage. Just remember to let them thaw at room temperature before indulging. Pro tip: If you make a big batch, you’re going to be the popular one at your next gathering 🍽️!
Tips to make Best Oreo Krispies
- Don’t skip the Oreo crushing—the more chunks, the more chocolatey goodness!
- Swap out butter for coconut oil for a unique flavor twist.
- Make them in fun shapes with cookie cutters for kids’ parties.
- Use gluten-free Rice Krispies to make this treat accessible to more friends.
- Add a sprinkle of sea salt on top for that sweet-and-salty vibe.
Variation
Feeling gourmet? You can mix in crushed peppermint candies for a holiday twist or add peanut butter for a nutty spin. Want vegan? Substitute the butter with coconut oil and use vegan marshmallows. The possibilities are endless!
FAQs
1. Can I use regular marshmallows instead of mini?
Absolutely! Just make sure to measure the same amount.
2. How do I prevent them from sticking to my fingers?
Wet your hands slightly with water or butter before pressing them into the pan to keep everything neat!
3. Can I freeze these?
Yes! Store them in an airtight container, and they’ll keep for up to 2 months. Just let them thaw in the fridge or at room temperature before enjoying.
📌 Pin this recipe for your next cozy dinner night!

Best Oreo Krispies
Ingredients
Method
- In a large pot, melt the butter over low heat.
- Add the mini marshmallows and stir until completely melted and smooth.
- Remove the pot from heat and stir in the vanilla extract.
- Gradually add the Rice Krispies cereal and crushed Oreo cookies, mixing until well coated.
- If using chocolate chips, stir them in at this point.
- Transfer the mixture to a greased 9x13 inch baking dish and press down evenly.
- Allow to cool completely before cutting into squares.