Gooey Brownie Pie
Is there anything better than a warm brownie straight out of the oven?
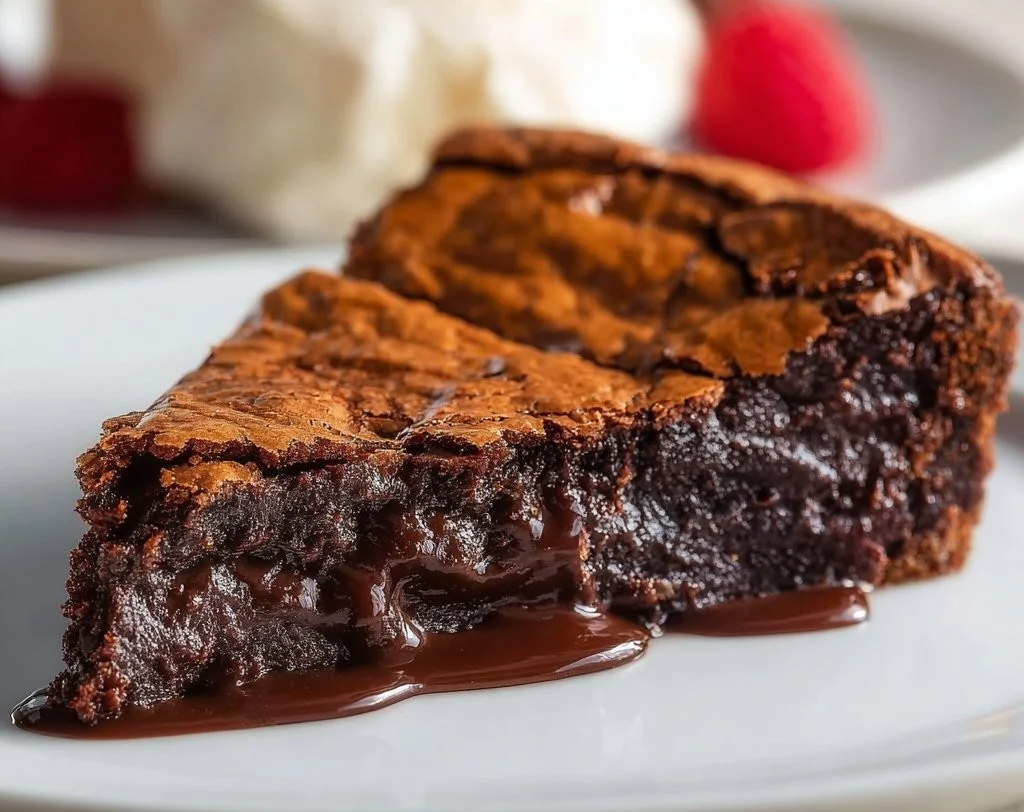
If you love that rich, chocolatey goodness, you’re going to go wild for this Gooey Brownie Pie! It’s a one-pan wonder that comes together in no time and is sure to become your new favorite dessert. Imagine the deep, dark chocolate melting in your mouth and the edges crisping just right while the center stays wonderfully gooey. So, are you ready to indulge?
Why make this recipe
Why not? Here are a few reasons you’ll want to whip this up:
- Quick Clean-Up: Just one bowl and a whisk mean less time scrubbing dishes and more time enjoying your brownie pie!
- Affordability: Most ingredients are pantry staples. Plus, you can feed a crowd with this simple treat (or keep it all to yourself – no judgment here).
- Family-Friendly: Kids (and adults!) love brownies, and this pie is no exception. It’s sure to be a hit at any gathering!
Ingredients:
You don’t need fancy stuff — just these basics!
- 1 cup unsalted butter
- 2 cups sugar
- 1 cup brown sugar
- 4 large eggs
- 2 teaspoons vanilla extract
- 1 cup all-purpose flour
- 1 cup unsweetened cocoa powder
- 1/2 teaspoon salt
- 1 cup chocolate chips
Directions:
- Preheat your oven to 350°F (175°C) and grease a 9-inch pie dish.
- In a large mixing bowl, melt the butter and then stir in the sugar and brown sugar until well combined.
- Beat in the eggs, one at a time, followed by the vanilla extract.
- Sift in the flour, cocoa powder, and salt, mixing until just combined.
- Fold in the chocolate chips.
- Pour the batter into the prepared pie dish and smooth the top.
- Bake in the preheated oven for about 25-30 minutes or until the edges are set, and a toothpick inserted in the center comes out mostly clean.
- Allow to cool for a few minutes before serving. Enjoy warm or chilled, with hot fudge if desired.
How to make Gooey Brownie Pie (Overview)
Ready to bake this heavenly creation? Here’s the scoop!
First, you’ll want to preheat your oven for that warm environment. While it’s warming up, melt the butter and mingle it with the sugars until they’re buddy-buddy. Then crack those eggs in, one by one, adding vanilla for a touch of magic. Next, sift in your flour and cocoa – trust me, this makes a difference. Fold in those chocolate chips for extra yumminess and pour it all into a pie dish. Then, let that beauty bake until perfection calls your name.
Pro tip: Don’t overmix once you add the flour! We want gooey, not tough.
How to serve Gooey Brownie Pie
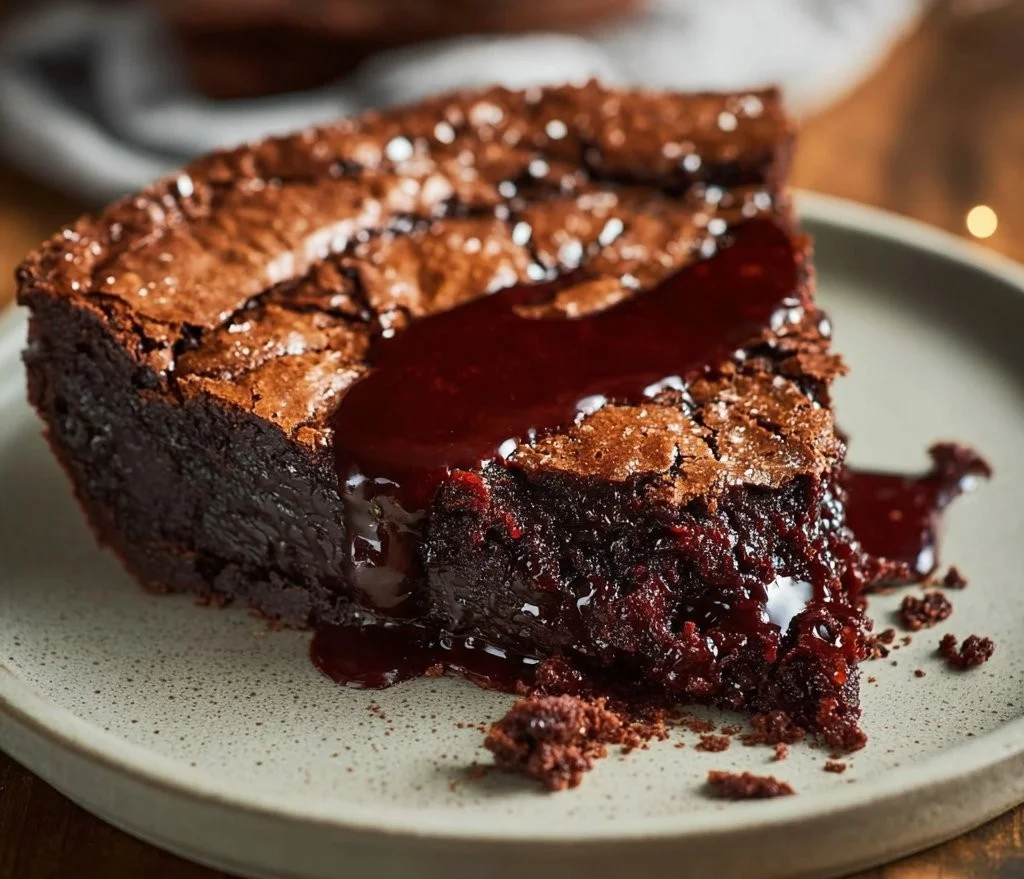
This brownie pie is absolutely perfect on its own, but you can jazz it up a little!
- Serve it warm with a scoop of vanilla ice cream melting on top. The contrast between hot and cold? Sweet heaven!
- Drizzle with hot fudge or sprinkle with powdered sugar for a classy touch.
- Slice it into wedges and serve alongside fresh berries for a pop of color and zest.
The aroma alone is enough to make your heart flutter and your taste buds dance. 🍫🍓
How to store Gooey Brownie Pie
Got leftovers? Lucky you! Store your Gooey Brownie Pie in an airtight container in the fridge for up to one week.
To enjoy it warm again, zap it in the microwave for a few seconds, and you’ll be transported back to brownie bliss. Or, if you want to prep ahead of time, consider freezing slices for up to three months. Just ensure they’re well-wrapped!
Tips to make Gooey Brownie Pie
Here are a few insider tricks to elevate your brownie pie game:
- Use high-quality cocoa powder – it makes a world of difference in flavor.
- Add nuts for a crunchy texture contrast, if you’re into that sort of thing.
- Mix-ins: Try adding peanut butter chips or even a swirl of caramel for a decadent twist.
Variation
Feeling adventurous? Here are some variations you can try:
- Go vegan by substituting the butter with coconut oil and using flax eggs instead of regular eggs.
- Experiment with flavor extracts like mint or almond for a different spin.
- Add a kick of heat with a pinch of cayenne for a surprising finish.
FAQs
Can I use dark chocolate instead of cocoa powder?
Absolutely! Just melt it down and replace some of the butter to keep the consistency right.
Can I make it ahead of time?
Sure thing! Bake it, cool it, and then store it in the fridge. Just reheat before serving for the best results.
What can I substitute for eggs?
You can use flax eggs (1 tbsp flaxseed meal + 2.5 tbsp water = 1 egg) as a great binder option!
So go ahead, dive into your gooey brownie pie bliss and get ready for some serious dessert smiles!
📌 Pin this recipe for your next cozy dinner night!

Gooey Brownie Pie
Ingredients
Method
- Preheat your oven to 350°F (175°C) and grease a 9-inch pie dish.
- In a large mixing bowl, melt the butter and then stir in the sugar and brown sugar until well combined.
- Beat in the eggs, one at a time, followed by the vanilla extract.
- Sift in the flour, cocoa powder, and salt, mixing until just combined.
- Fold in the chocolate chips.
- Pour the batter into the prepared pie dish and smooth the top.
- Bake in the preheated oven for about 25-30 minutes or until the edges are set, and a toothpick inserted in the center comes out mostly clean.
- Allow to cool for a few minutes before serving. Enjoy warm or chilled, with hot fudge if desired.