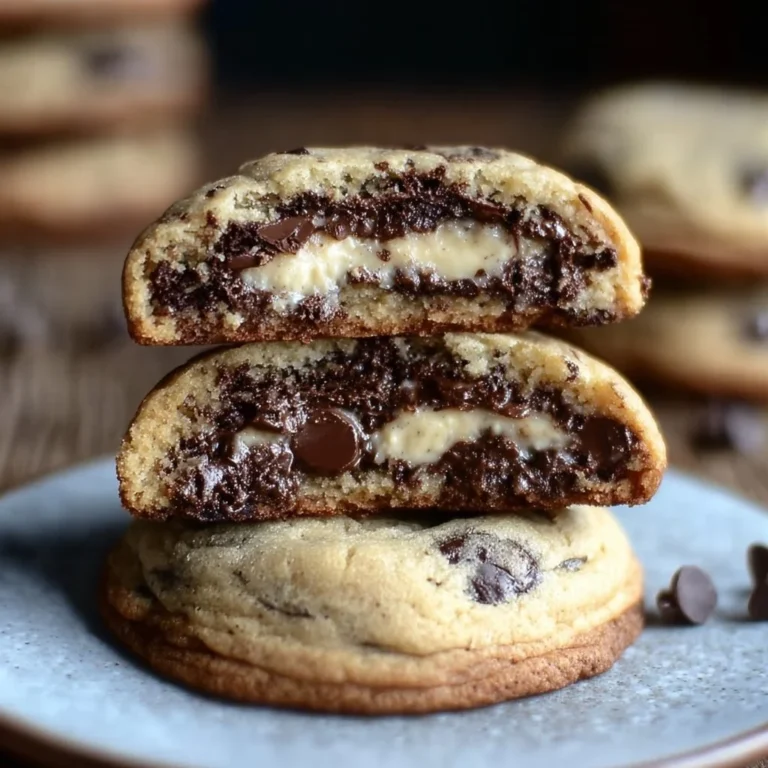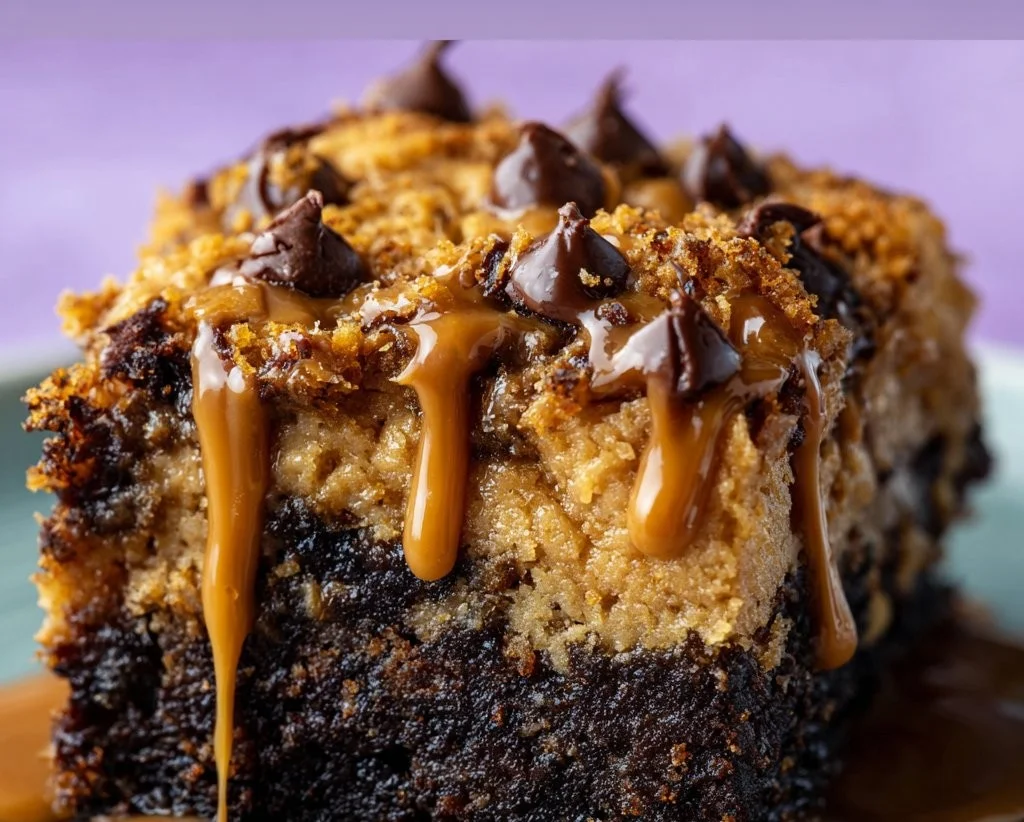
Peanut Butter Cup Dump Cake
Can you smell that chocolatey goodness wafting through the air?
This Peanut Butter Cup Dump Cake is a dessert lover’s dream come true! Imagine the creamy richness of peanut butter, decadent chocolate, and the ease of a one-pan recipe that practically makes itself. It’s the perfect treat for those last-minute sweet cravings or just because you want to indulge a little. Not to mention, it looks impressive enough for a gathering, but we won’t tell if you end up enjoying it all by yourself. 😉
Why make this recipe
Let’s be real: who doesn’t want to whip up dessert in the least complicated way possible? Here’s why this dump cake deserves a spot in your recipe book:
- Easy cleanup: Just one bowl and a baking dish mean less time scrubbing and more time enjoying your slice.
- Family-friendly: Kids and adults alike love the combination of peanut butter and chocolate. It’s a guaranteed hit!
- Budget-friendly: You don’t need to splurge on fancy ingredients. Trust me, this cake won’t break the bank.
Ingredients
You don’t need fancy stuff — just these basics!
- 1 box chocolate cake mix
- 1 cup creamy peanut butter
- 1 cup chocolate chips
- 4 eggs
- 1 cup water
- 1/2 cup vegetable oil
- 1 cup crushed peanut butter cups (optional)
- Powdered sugar (for dusting, optional)
Directions
Follow these easy steps to get your cake from up in the air to right on the plate!
- Preheat the oven to 350°F (175°C). Grease a 9×13 inch baking dish.
- In a large bowl, combine the cake mix, peanut butter, eggs, water, and vegetable oil. Mix until smooth.
- Pour the batter into the prepared baking dish and spread evenly.
- Sprinkle chocolate chips and crushed peanut butter cups on top of the batter.
- Bake for 30-35 minutes, or until a toothpick inserted into the center comes out clean.
- Allow to cool slightly before serving. Dust with powdered sugar if desired.
How to make Peanut Butter Cup Dump Cake (Overview)
Making your Peanut Butter Cup Dump Cake is as easy as pie! Well, easier actually. Here’s how it goes down:
- Preheat your oven and grease that baking dish. It’s all about setting the stage for your cake!
- Toss everything into one bowl and mix! Yep, just throw it all together.
- Pour, sprinkle, and bake! Let that sweet aroma fill your space.
- Cool a bit, dust with sugar if you’re feeling fancy, and dig in!
Pro tip: Remember, the longer you let it cool, the easier it is to cut into pretty squares. But who’s counting when you can just scoop it up with a spoon? 😋
How to serve Peanut Butter Cup Dump Cake
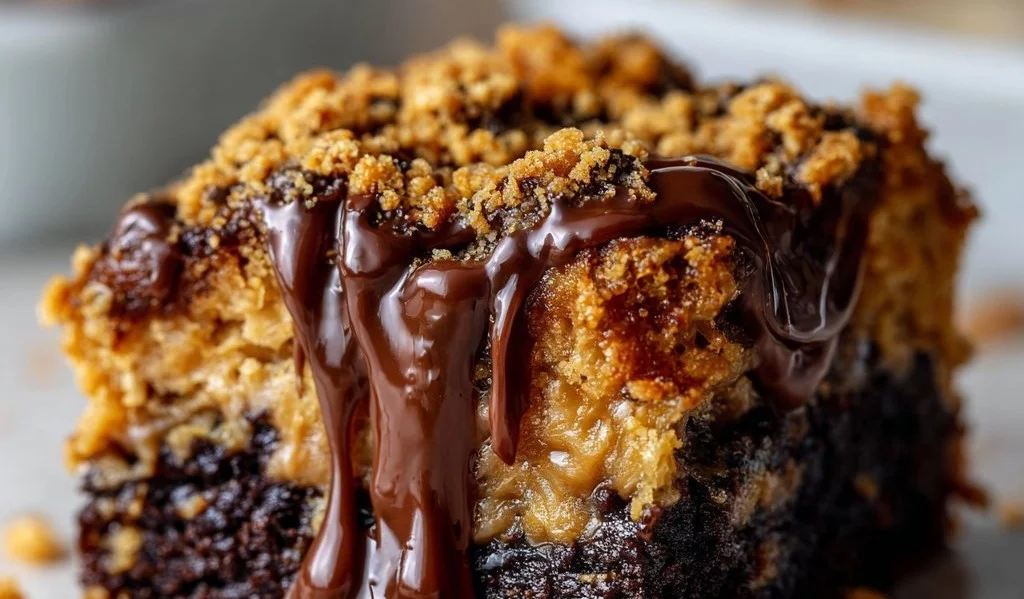
Your Peanut Butter Cup Dump Cake deserves some star treatment! Serve it warm, maybe topped with a scoop of vanilla ice cream melting into the rich chocolate and peanut butter. Picture this: warm, gooey cake, a pop of creamy ice cream, and a sprinkle of crushed peanuts for some crunch. Talk about a dessert that screams indulgence!
How to store Peanut Butter Cup Dump Cake
If you manage to have leftovers (a miracle on its own), store them in an airtight container in the fridge. It’ll stay fresh for about 3-4 days. Need a quick treat fix? Just pop a slice in the microwave for 10-15 seconds to bring back that warm, gooey goodness.
Tips to make Peanut Butter Cup Dump Cake
- Timing is everything: Make sure to check for doneness at the 30-minute mark to prevent overbaking.
- Mix it up: Switch the cake mix flavor for something different! A vanilla or red velvet cake mix would create a fun twist.
- Pump up the flavor: Add a splash of vanilla extract to the batter for an extra layer of yumminess!
Variation
Feeling adventurous? Try swapping the chocolate chips for white chocolate or even butterscotch chips for a little twist. You can also make it vegan by using an egg replacement, such as flax eggs, and a plant-based cake mix. The options are limitless!
FAQs
Can I make Peanut Butter Cup Dump Cake ahead of time?
Absolutely! Go ahead and make it up to a day in advance, and just refrigerate. Just make sure to warm it up before serving for that fresh-out-of-the-oven experience.
Can I freeze this cake?
Yes! Wrap slices tightly in plastic wrap and foil, and they’ll keep in the freezer for up to 2 months.
Can I use crunchy peanut butter instead of creamy?
Definitely! Crunchy peanut butter will add a delightful texture, so go nuts (literally)! 🥜
📌 Pin this recipe for your next cozy dinner night!

Peanut Butter Cup Dump Cake
Ingredients
Method
- Preheat the oven to 350°F (175°C). Grease a 9x13 inch baking dish.
- In a large bowl, combine the cake mix, peanut butter, eggs, water, and vegetable oil. Mix until smooth.
- Pour the batter into the prepared baking dish and spread evenly.
- Sprinkle chocolate chips and crushed peanut butter cups on top of the batter.
- Bake for 30-35 minutes, or until a toothpick inserted into the center comes out clean.
- Allow to cool slightly before serving. Dust with powdered sugar if desired.