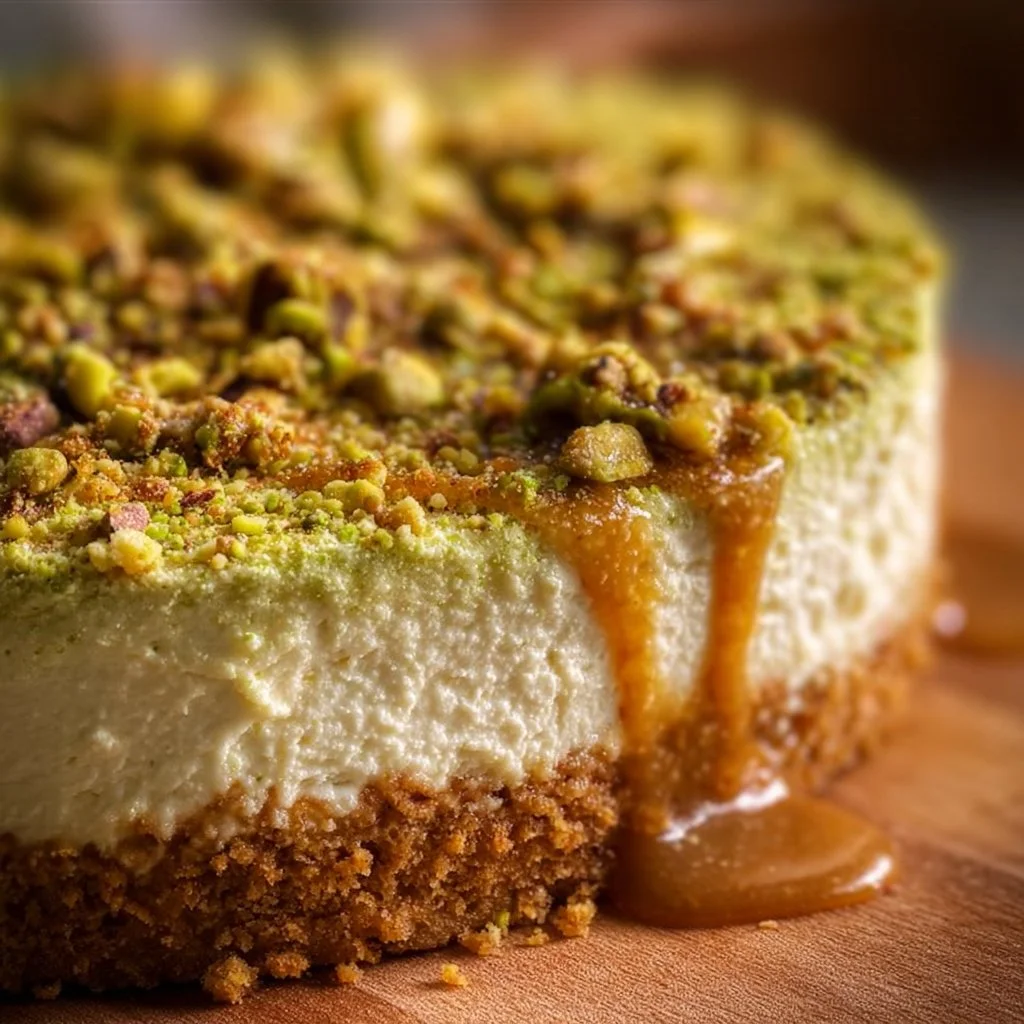
No-Bake Pistachio Cheesecake
Creamy, Dreamy No-Bake Pistachio Cheesecake Awaits!
Imagine sinking your fork into a rich, creamy slice of cheesecake that’s just bursting with the nutty crunch of pistachios. Sounds dreamy, right? This No-Bake Pistachio Cheesecake is not only a delight for the taste buds, but it also trumps traditional baking in effort and time. With a luscious filling and a buttery crust, it’s the perfect showstopper for any occasion—no oven required!
Why Make This Recipe
So, why should you whip up this dessert? Well, here are a few goodies that might just convince you:
- Quick & Easy: Forget fussing with the oven; a few simple steps and your cheesecake is chilling away!
- No-Guilt Indulgence: You can treat yourself while feeling like a culinary genius!
- Crowd-Pleaser: Impress your friends and family without breaking a sweat. Be ready for compliments, folks!
Ingredients
You don’t need fancy stuff — just these basics! Grab the following ingredients for your cheesecake adventure:
- 1 cup pistachios, crushed
- 1/2 cup butter, melted
- 2 cups cream cheese, softened
- 1 cup powdered sugar
- 1 teaspoon vanilla extract
- 1 cup heavy cream
- Extra pistachios for topping
- Whipped cream for serving (optional)
Directions
Follow these simple steps to whip up your cheesecake masterpiece:
- In a mixing bowl, combine crushed pistachios and melted butter. Press the mixture into the bottom of a pie dish to form the crust.
- In another bowl, beat the cream cheese until smooth. Add powdered sugar and vanilla extract, mixing until incorporated.
- In a separate bowl, whip the heavy cream to stiff peaks and gently fold it into the cream cheese mixture.
- Fold in the chopped pistachios for that added crunch.
- Pour the filling into the prepared crust, smoothing the top with a spatula.
- Refrigerate for at least 4 hours or until firm. (Patience, my friend!)
- Once set, top with additional pistachios or whipped cream if desired.
- Serve chilled and enjoy!
How to Make No-Bake Pistachio Cheesecake (Overview)
Making this cheesecake is like a secret hack for dessert lovers! First, you whip up that buttery pistachio crust—trust me, it sets the stage for plenty of nutty goodness. Next, beat the cream cheese mixture into a fluffy cloud of deliciousness. Fold in some whipped cream, throw in more crushed pistachios, and voilà! You have your heavenly filling. Just chill it, and you’re ready to impress!
Pro tip: Don’t skip on chilling; it’s what keeps everything together and helps you avoid a cheesecake puddle. 😄
How to Serve No-Bake Pistachio Cheesecake
Presentation matters! Serve your cheesecake with a flourish—garnish it with extra pistachios for that beautiful contrast of green. A dollop of whipped cream adds a creamy touch, whispering to your taste buds about endless summer picnics. As you cut into the cheesecake, you’ll love the soft, luscious filling against the crunchy crust. Pure bliss! 🍰
How to Store No-Bake Pistachio Cheesecake
Got leftovers? Lucky you! This cheesecake will happily store in the fridge for up to 5 days. Just cover it tightly with plastic wrap so it stays fresh. You can also freeze it for up to a month. When you’re ready to enjoy, simply let it thaw in the fridge overnight.
Tips to Make No-Bake Pistachio Cheesecake
Here are some insider tricks to elevate your cheesecake game:
- Don’t skip softening the cream cheese! It ensures a silky smooth blend.
- For a quicker chill, pop the cheesecake in the freezer for the first hour, then transfer to the fridge.
- Feel free to swap out pistachios for your favorite nuts like walnuts or almonds for a twist!
Variation
Feeling adventurous? Throw in a splash of lemon juice for a zesty kick, or opt for a coconut cream base for a tropical twist. You can even create a vegan version using cashew cream and coconut milk if that suits your fancy!
FAQs
-
Can I use different nuts?
Absolutely! You can swap pistachios with walnuts or almonds for a different flavor. -
How far in advance can I make this?
You can prepare it up to two days ahead; just keep it well-covered in the fridge. -
Can I freeze leftovers?
Yes! Freeze slices for up to a month. Just let them thaw in the fridge before serving.
📌 Pin this recipe for your next cozy dinner night!

No-Bake Pistachio Cheesecake
Ingredients
Method
- In a mixing bowl, combine crushed pistachios and melted butter. Press the mixture into the bottom of a pie dish to form the crust.
- In another bowl, beat the cream cheese until smooth. Add powdered sugar and vanilla extract, mixing until incorporated.
- In a separate bowl, whip the heavy cream to stiff peaks and gently fold it into the cream cheese mixture.
- Fold in the chopped pistachios for that added crunch.
- Pour the filling into the prepared crust, smoothing the top with a spatula.
- Refrigerate for at least 4 hours or until firm.
- Once set, top with additional pistachios or whipped cream if desired.
- Serve chilled and enjoy!