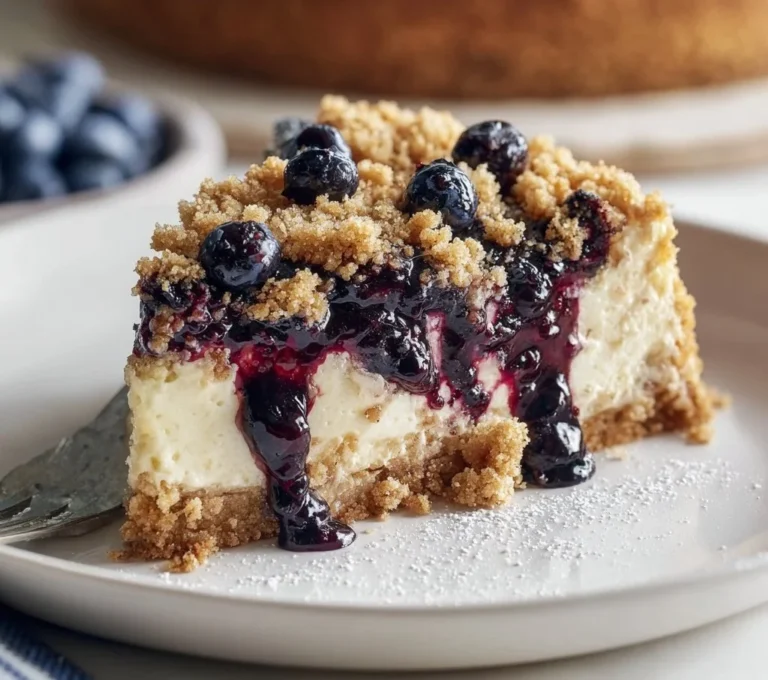
Decadent Creamy Baked Strawberry Cheesecake
Creamy Indulgence with a Fruity Twist
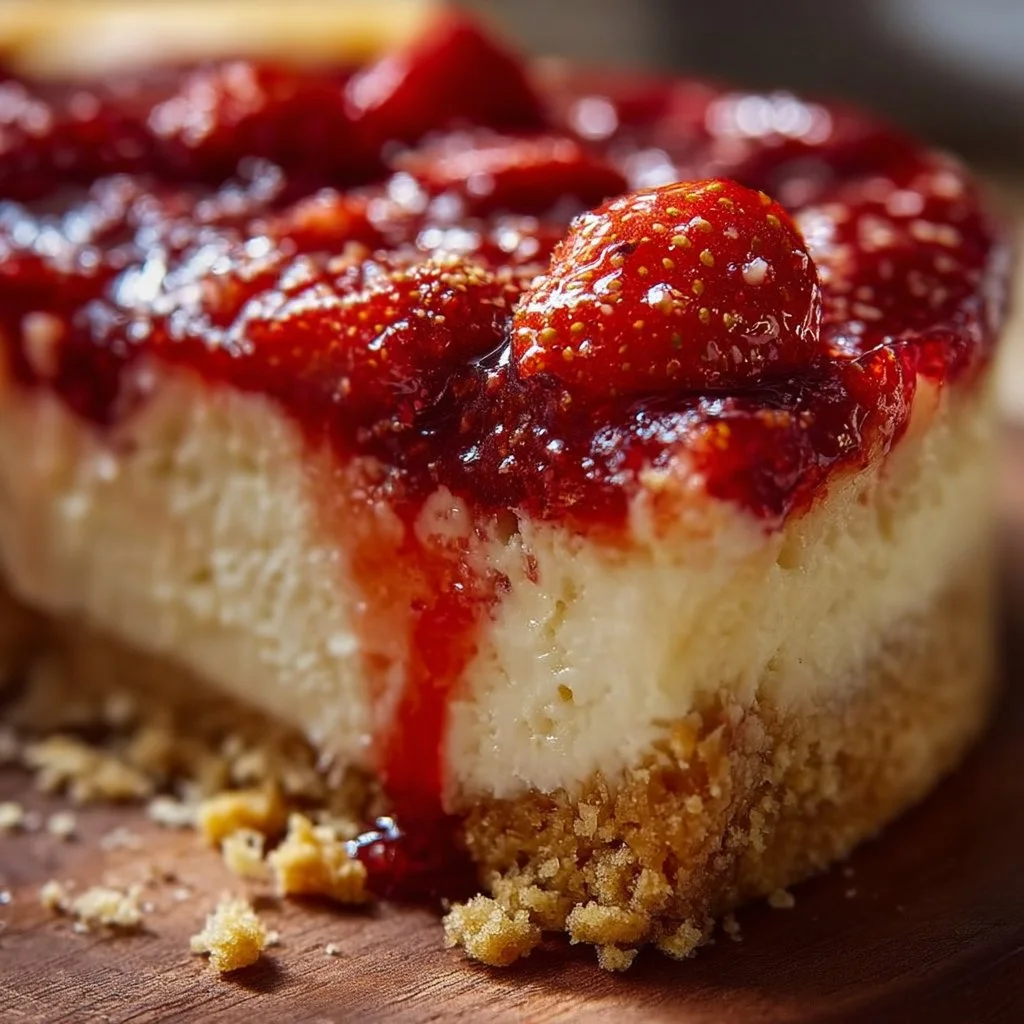
Imagine slicing into a creamy baked cheesecake that’s just bursting with the sweetness of fresh strawberries. The moment you lift a forkful to your mouth, you taste the rich, velvety cream cheese mingling effortlessly with the vibrant berry topping. It’s like dessert heaven and the kind of treat that makes your heart do a little happy dance! 🍰
This Decadent Creamy Baked Strawberry Cheesecake is everything you want in a dessert: rich, creamy, and surprisingly easy to make. Plus, it’s baked in a single pan, which means bonus points for easy cleanup. Who doesn’t need that after a day in the kitchen?
Why Make This Recipe
Here’s why you’ll want to whip up this masterpiece in no time:
-
Easy to make: With simple ingredients and straightforward directions, you’ll look like a pro in no time (even if you just learned how to boil water).
-
Family-friendly: Whether it’s a family gathering or a casual get-together, everyone will love it. Who can resist cheesecake topped with fresh strawberries? Spoiler: nobody!
-
Impressive presentation: Serve it at your next event, and you’ll definitely earn some major bragging rights. Just be ready for the compliments. 🎉
Ingredients
You don’t need fancy stuff — just these basics!
- 1 1/2 cups graham cracker crumbs
- 1/4 cup granulated sugar
- 6 tablespoons unsalted butter, melted
- 24 ounces cream cheese, softened
- 1 cup granulated sugar
- 1/4 cup sour cream
- 3 large eggs
- 2 teaspoons vanilla extract
- 1 tablespoon lemon juice
- 1/4 teaspoon salt
- 2 cups fresh strawberries, hulled and sliced
- 1/4 cup granulated sugar (for strawberry topping)
- 1 tablespoon cornstarch
- 1/4 cup water
- 1 teaspoon lemon juice (for topping)
Directions
Ready to get baking? Follow these simple steps:
-
Preheat the oven to 325°F and grease a 9-inch springform pan.
-
In a bowl, combine graham cracker crumbs, 1/4 cup granulated sugar, and melted butter. Press this mixture firmly into the bottom of the pan, then bake for 10 minutes. Let it cool.
-
In a large bowl, beat the cream cheese until smooth. Add 1 cup granulated sugar and salt, mixing until combined. Then add sour cream, vanilla extract, and lemon juice, mixing until smooth.
-
Add the eggs one at a time, mixing on low speed just until incorporated. Pour the filling over the cooled crust and smooth the top.
-
Bake the cheesecake for 55 to 65 minutes until the edges are set and the center still jiggles slightly. Turn off the oven, crack the door open, and let the cake cool inside for 1 hour.
-
Remove the cheesecake from the oven and chill in the refrigerator for at least 4 hours or overnight for the best texture.
-
Meanwhile, in a small saucepan, combine strawberries, 1/4 cup granulated sugar, cornstarch, water, and lemon juice. Cook over medium heat, stirring until the mixture thickens and the berries soften. Let the topping cool.
-
Spoon the cooled strawberry topping over the chilled cheesecake before serving.
How to Make Decadent Creamy Baked Strawberry Cheesecake (Overview)
Let’s break it down, friends! You’ll start by preheating your oven and preparing that delectable crust—simple graham crackers and butter create the perfect base. While it bakes, whip up the lush cream cheese filling and blend in all those creamy goodness.
Pro Tip: Letting your cream cheese soften beforehand makes blending a breeze! After baking and cooling, don’t forget that tantalizing strawberry topping. It’s the perfect fresh burst of flavor!
How to Serve Decadent Creamy Baked Strawberry Cheesecake
Presentation is key! Plate your cheesecake and elegantly spoon the strawberry topping to one side for a pop of color. You can add a dollop of whipped cream or a sprig of mint for extra flair. The lush pink hues against the creamy texture and crunchy crust create a feast for the eyes even before the first bite. 😉
How to Store Decadent Creamy Baked Strawberry Cheesecake
Got leftovers? No problem! This cheesecake keeps well in the fridge for up to 5 days. Just cover it with plastic wrap to keep it fresh. If you want to store it for longer, you can freeze slices for up to 3 months. Just remember to let it thaw in the fridge overnight before indulging again.
Tips to Make Decadent Creamy Baked Strawberry Cheesecake
-
Don’t rush the cooling: Patience is key to achieving the perfect texture.
-
Consider using a water bath when baking to help prevent cracks. It sounds fancy but is totally worth it!
-
If you want a sweeter profile, try swapping some of the granulated sugar for brown sugar— it adds a lovely depth of flavor.
-
Use room temperature ingredients. This helps everything blend beautifully and contributes to a smooth filling.
Variation
Feel like mixing it up a bit? Swap out strawberries for blueberries or raspberries for a different fruity flair. You can also experiment with flavored cream cheese, like vanilla bean or even chocolate, for a totally different vibe!
FAQs
1. Can I make this cheesecake ahead of time?
Absolutely! It’s perfect for making a day or two in advance. Just keep it in the fridge until you’re ready to serve.
2. Can I freeze this cheesecake?
Yes, you can freeze it! Just wrap it tightly before you freeze.
3. What can I use instead of sour cream?
Greek yogurt makes a great substitute if you’re looking for a healthier option!
📌 Pin this recipe for your next cozy dinner night!

Decadent Creamy Baked Strawberry Cheesecake
Ingredients
Method
- Preheat the oven to 325°F and grease a 9-inch springform pan.
- In a bowl, combine graham cracker crumbs, 1/4 cup granulated sugar, and melted butter. Press this mixture firmly into the bottom of the pan, then bake for 10 minutes. Let it cool.
- In a large bowl, beat the cream cheese until smooth. Add 1 cup granulated sugar and salt, mixing until combined.
- Add sour cream, vanilla extract, and lemon juice, mixing until smooth.
- Add the eggs one at a time, mixing on low speed just until incorporated.
- Pour the filling over the cooled crust and smooth the top.
- Bake the cheesecake for 55 to 65 minutes until the edges are set and the center still jiggles slightly.
- Turn off the oven, crack the door open, and let the cake cool inside for 1 hour.
- Remove the cheesecake from the oven and chill in the refrigerator for at least 4 hours or overnight for the best texture.
- In a small saucepan, combine strawberries, 1/4 cup granulated sugar, cornstarch, water, and lemon juice.
- Cook over medium heat, stirring until the mixture thickens and the berries soften. Let the topping cool.
- Spoon the cooled strawberry topping over the chilled cheesecake before serving.